
You're probably in the middle of building a training guide, support reply, or process document right now, and the screenshots are the weak point. The workflow is solid, the text is clear, but once you paste the images in, the buttons look soft and the labels turn fuzzy.
The fix usually isn't a better keyboard shortcut. It's understanding how browsers and devices render pixels, then using the right capture method for the job. That's how you take high resolution screenshots that stay sharp in manuals, slide decks, and help docs.
Why Your Screenshots Look Blurry and How to Fix It
A blurry screenshot usually starts with a normal habit. You hit Print Screen, paste the image into Word, Google Docs, or a ticket, then resize it a little so it fits. The result looks acceptable on your screen for a second. Then someone opens the file on a larger display and the text turns muddy.
That happens because quick-capture tools grab what your operating system is showing at that moment, not the best possible version of the interface. For day-to-day chat messages, that's fine. For training documents, onboarding SOPs, and support visuals, it isn't.
Teams run into this often when documenting browser-based tools, student portals, booking flows, or dashboard changes. If the screenshot includes small labels, tabs, menus, or tables, low-resolution capture makes the image harder to trust. Staff zoom in, lose context, and ask for clarification anyway.
Clear screenshots reduce back-and-forth. Blurry ones create a second round of explanation.
For online teaching teams, this matters even more. A device setup that looks fine on one laptop can render differently across classrooms, branches, and teacher devices. That's one reason practical hardware guidance like Tutorbase insights on online tutoring devices matters alongside documentation standards.
What actually fixes it
The reliable fix comes down to three choices:
- Use the right capture tool: Built-in shortcuts are fast, but browser developer tools produce much cleaner website and web app captures.
- Capture at higher pixel density: Device Pixel Ratio, or DPR, controls how densely the browser renders the page before saving it.
- Save in the right format: PNG preserves text and UI edges far better than lossy formats.
If you remember one rule, use this one. A quick screenshot is for conversation. A high-resolution screenshot is for documentation.
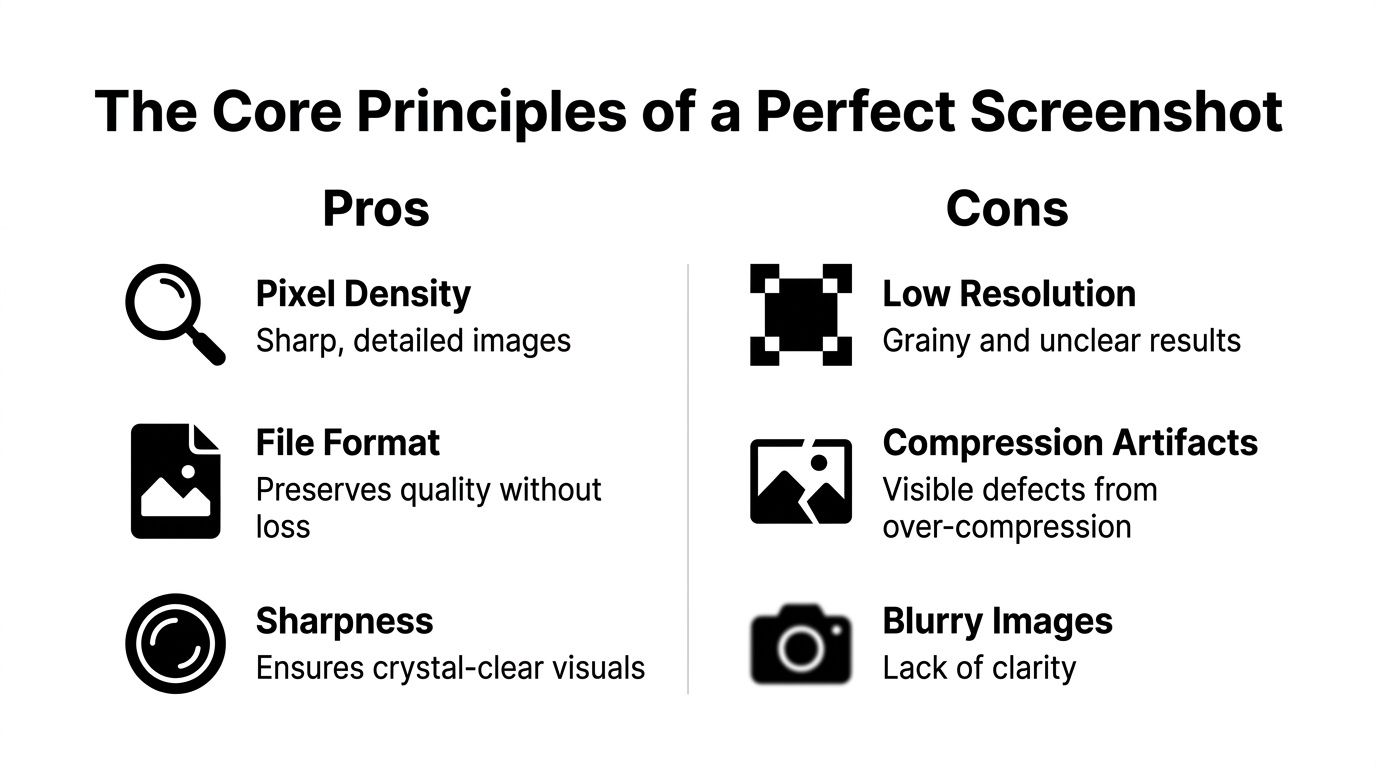
The Core Principles of a Perfect Screenshot
A good screenshot isn't just “big.” It's sharp at the size you need to use it. That depends on pixel density, rendering, and file format.
If you capture a settings panel and paste it into a staff handbook, the test is simple. Can someone read the labels without zooming? If not, the file may be large, but the screenshot still isn't good.
Resolution is only part of the story
People often mix up resolution and clarity. Resolution is the number of pixels in the image. Clarity depends on whether those pixels were rendered densely enough in the first place.
For screenshots of software, text, or dashboards, you must capture with a Device Pixel Ratio of at least 2, and PNG is the required format for sharp interfaces according to ScreenshotOne guidance on high-res screenshots.
This concept is similar to printing a spreadsheet. More paper doesn't help if the source text was already fuzzy. The source has to be crisp before you place it anywhere else.
What Device Pixel Ratio means in practice
Device Pixel Ratio (DPR) tells the browser how many physical pixels it should use for each CSS pixel. A DPR of 1 is the default, basic rendering. A DPR of 2 or more tells the browser to draw the interface with much greater density.
For non-technical teams, the easiest way to think about DPR is this:
- DPR 1: Fast, basic, often soft
- DPR 2: Good for documentation with text and UI
- DPR 3 or 4: Best when you need publication-quality browser captures
If you're working on an external display, monitor setup still affects what you see while preparing the shot. A practical hardware reference like this 2026 HDMI monitor guide can help if you're comparing displays for office documentation work.
PNG, JPEG, and WebP are not interchangeable
For screenshots, file format matters more than many teams expect. JPEG was designed around photographic compression, which is why it tends to soften text edges and create artifacts around icons and lines.
Here's the simplest decision table.
| Format | Best For | Why |
|---|---|---|
| PNG | Software screenshots, dashboards, forms, text-heavy UI | Preserves sharp edges and avoids lossy compression artifacts |
| JPEG | Photographic content where small file size matters more than text sharpness | Smaller files, but weak for text, icons, and line detail |
| WebP | Web use when you need a balance between quality and file size, especially for image-heavy content | Can reduce file size while keeping acceptable quality for some visuals |
Practical rule: If the image contains buttons, menus, tables, text, or form fields, save it as PNG.
What usually goes wrong
Most blurry screenshots come from a short list of mistakes:
- Capturing at display resolution only: The image looks fine on your own screen, then breaks when resized.
- Using JPEG for interface images: Compression artifacts show up first around text.
- Resizing upward after capture: Enlarging a weak screenshot doesn't restore detail.
- Mixing capture methods: A manual with some retina-sharp images and some soft images looks inconsistent.
When people ask how to take high resolution screenshots, they usually want a shortcut. The better answer is a standard. Capture dense, export clean, and avoid lossy edits.
Mastering Built-In Tools on Windows and macOS
Built-in screenshot tools are still useful. I use them for quick process notes, internal messages, and one-off bug reports. They're fast, they're already installed, and they don't require setup.
Their limit is simple. They can only capture what your system is rendering on screen at that moment.
Windows works well for speed
On Windows, skip the old Print Screen habit if quality matters. Use Snipping Tool instead.
The common options each solve a different problem:
- Rectangular snip: Best for grabbing a specific panel or modal.
- Window snip: Clean when you need one app window without manual cropping.
- Full-screen snip: Good for quick capture of the whole desktop.
- Freeform snip: Only use this when shape matters more than consistency.
Print Screen still has a place, but it's blunt. It captures everything, including visual clutter, and it doesn't improve quality.
macOS gives you cleaner control
On macOS, Shift + Command + 5 is the most useful built-in starting point. It opens the screenshot toolbar and lets you capture the full screen, a selected window, or a selected area.
For fast work, these shortcuts matter:
- Shift + Command + 3: Full screen
- Shift + Command + 4: Select area
- Shift + Command + 5: Full screenshot toolbar and screen recording controls
Window capture on macOS is especially good when you want clean edges and a repeatable look across multiple screenshots.
Where built-in tools fall short
Both Windows and macOS tools share the same limitation. They're tied to your display output. If your monitor or scaling setup isn't producing a dense render, the screenshot won't magically become high resolution.
That's why they're good for:
- Internal chat
- Quick support context
- Rough drafts of SOPs
They're weaker for:
- Web app documentation
- Marketing assets
- Training manuals that include small text
- Full-page website capture
A short visual walkthrough can help if someone on your team needs a refresher on the basics before moving to advanced capture:
Built-in tools are the right answer when speed matters most. They're rarely the best answer when legibility matters most.
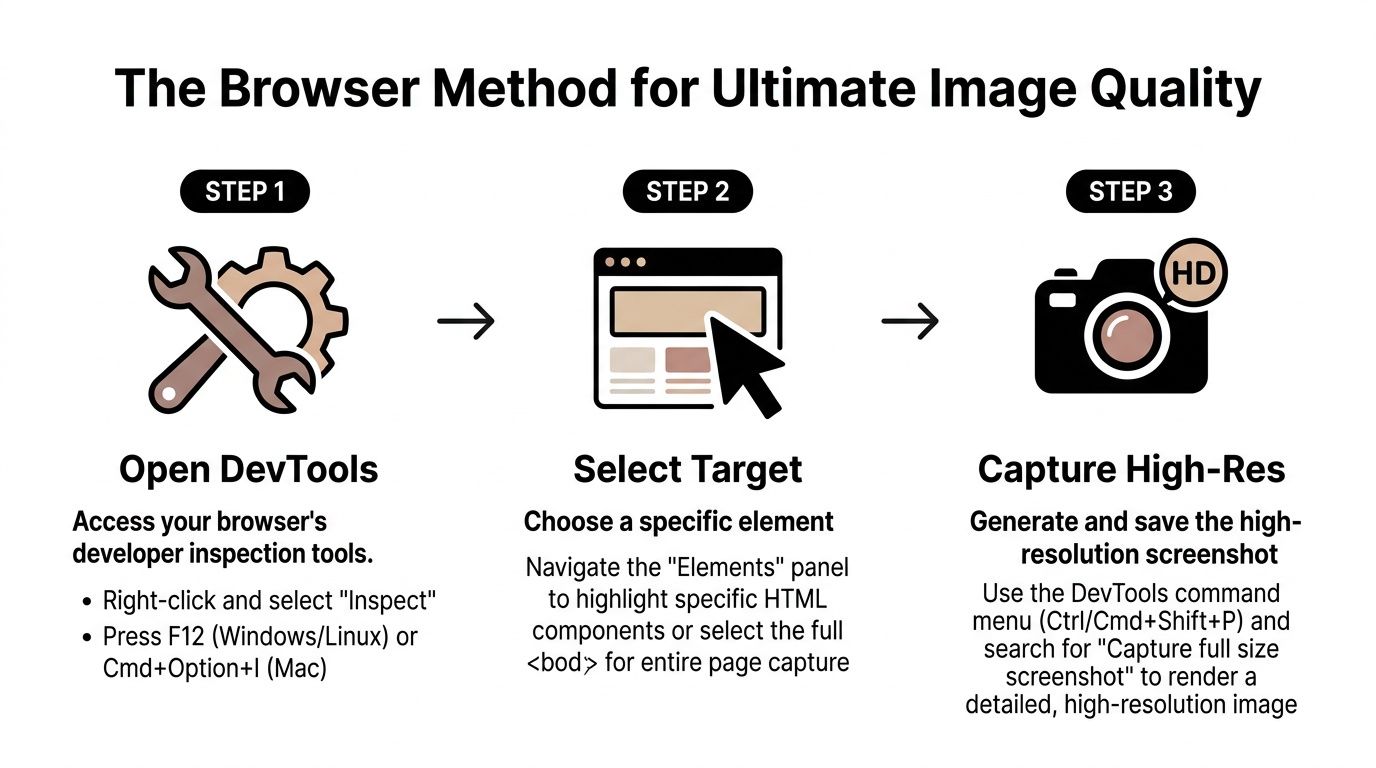
The Browser Method for Ultimate Image Quality
For websites, browser-based dashboards, portals, and web apps, this is the method that produces the cleanest result. It avoids the biggest problem with operating system screenshot tools, which is that they only capture your visible screen state.
Browser developer tools let you tell the browser how to render the page before you save it. That means you can create an image far sharper than what a normal laptop screen would suggest.
Why this method beats standard shortcuts
In Chrome, you can configure a custom device in DevTools with Device Pixel Ratio 4, which renders the webpage at 4x the standard resolution. A 1920 x 1080 viewport at DPR 4 produces a 7680 x 4320 image, which is 8K quality, as shown in David Augustat's Chrome screenshot walkthrough.
That's the practical breakthrough many overlook. You don't need a 4K monitor to get a 4K-quality or larger browser screenshot. You need control over browser rendering.
How to do it in Chrome or Edge
Use this workflow when you need a crisp screenshot of a page, admin panel, booking interface, or analytics screen.
- Open the page you want to capture.
- Open Developer Tools with F12 or by right-clicking and choosing Inspect.
- Toggle Device Toolbar so the page enters responsive mode.
- Create a custom viewport, such as 1920 x 1080.
- Set Device Pixel Ratio to 4 if you want ultra-high output.
- Open the DevTools menu inside device mode.
- Choose Capture screenshot for the visible area, or the full-page option if you need the full scrollable page.
The same Chrome method above also solves a common misconception. You can create ultra-dense web captures through browser emulation rather than relying on a physical high-resolution panel.
When Firefox is the better choice
Firefox has a very practical built-in approach for full-page work. The native command :screenshot --dpr 3 --fullpage captures a full page at three times the standard resolution, which multiplies pixel density by 9 compared to DPR 1, according to a web design community discussion on high-definition screenshots.
That same discussion includes a useful trick for tooltips, hover states, and transient UI. If you hover the element and pause script execution with F8, you can keep the tooltip visible long enough to capture it.
That matters when you're documenting:
- Dropdown help text
- Hover cards
- Validation messages
- Interactive tutor or student dashboard states
For teams focused on enhancing virtual tutoring sessions, this method is especially useful because browser-based teaching tools often rely on dynamic menus and hover interactions that basic screenshot methods miss.
What works and what doesn't
Here's the short version from repeated operational use.
Use browser DevTools when:
- You need a full-page capture
- The page contains small text
- You want consistent image quality
- You need clean screenshots of web apps
Don't rely on standard screen grabs when:
- You're documenting a scrolling page
- The interface includes dense tables or navigation
- You need to crop in later
- You're building a guide that other teams will reuse
If the interface lives in a browser, capture it in the browser. That one decision fixes most quality problems before editing even starts.
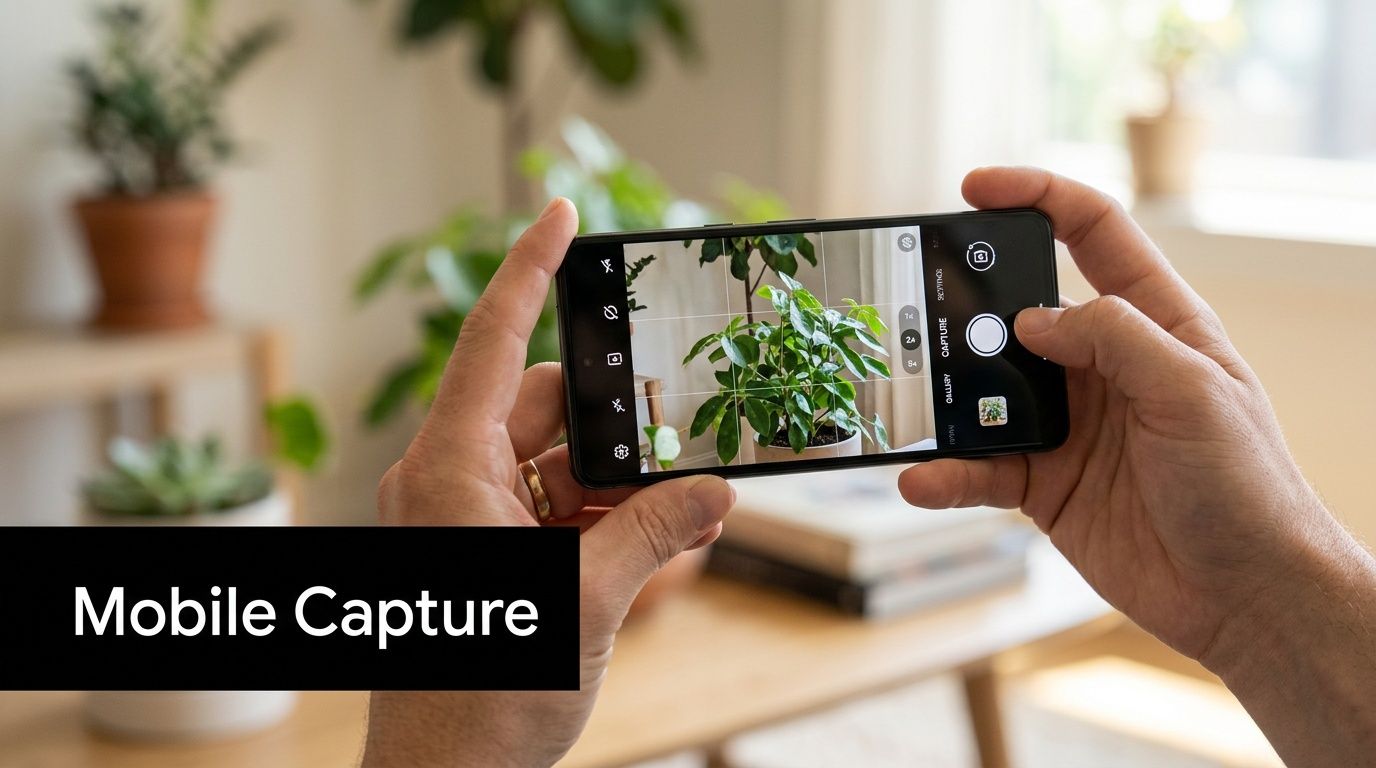
Capturing Clear Screenshots on iOS and Android
Mobile screenshots are easy to take and surprisingly easy to mishandle. The usual problem isn't the button combination. It's what happens after the capture, especially if someone sends the image through a chat app that compresses it.
If you're documenting a student app, parent portal, payment flow, or mobile booking step, keep the workflow clean from capture to transfer.
The fastest reliable methods
On most recent iPhones, press the side button and volume up at the same time.
On many Android devices, press the power button and volume down together. Some manufacturers also include a scrolling screenshot option right after capture. Use that when one screen doesn't show the full process.
Small adjustments that improve clarity
The screenshot itself is digital, so brightness doesn't change the pixel data the way it would in a photo. But brightness does help you inspect the screen before capture and catch issues like reflections, dim states, overlays, or accidental dark mode mismatches.
Use this pre-capture checklist:
- Maximize legibility: Increase text size only if your audience needs it, otherwise keep the default layout.
- Remove distractions: Clear notifications, low-battery warnings, and chat bubbles.
- Use scrolling capture when available: It keeps long mobile pages in one file.
- Transfer the original file: AirDrop, direct cable transfer, cloud storage, or original-quality upload all work better than compressed messaging apps.
If your documentation also includes video demos or live mobile workflows, understanding hardware used to avoid streaming lag can help when screenshots aren't enough and you need to record the screen cleanly.
Best use cases for mobile screenshots
Mobile screenshots are strongest when you need to show:
- App navigation paths
- Responsive mobile web layouts
- Parent or student login steps
- Payment confirmation screens
- Messaging or attendance flows
For teams evaluating essential mobile tutoring app solutions, consistent mobile screenshots make a big difference because small interface differences can confuse teachers and parents quickly.
What to avoid
Two habits ruin otherwise good mobile captures.
First, don't crop too aggressively before you know where the image will be used. Tight crops remove context that trainers often need later.
Second, don't send the only copy through a messaging app first. Many chat tools reduce quality automatically, which defeats the point of capturing a clean original.
Final Touches Preserving Quality After the Capture
A clean screenshot can lose quality in the last few minutes of the workflow. The usual culprit is not the capture itself. It is what happens after: resizing, annotating, exporting, or pasting the image into a tool that compresses it.
I treat the original screenshot like a source file.
Keep a master file
Save the untouched PNG first, then make edits on a copy. That one step prevents a lot of rework when someone asks for a wider crop, a version without labels, or an updated callout after the interface changes.
A simple folder structure works well:
- Originals: Untouched PNG files
- Edited: Versions with arrows, highlights, or blur boxes
- Exported: Final copies sized for docs, slides, or help articles
This matters more than teams expect. High resolution starts with pixel density at capture time, especially if you used browser developer tools and adjusted DPR, but you can still throw that quality away by repeatedly resaving the file or overwriting the only clean version.
Annotate with restraint
Use annotation tools that export to PNG and leave the canvas at its original dimensions. Add arrows, boxes, and short labels only where the reader needs direction. If the image needs a paragraph inside it, the crop or the surrounding text probably needs work.
For training and support content, fewer marks usually produce a better result. The screenshot should show the interface clearly. The annotation should guide the eye, not compete with the UI.
If you inherit a soft or low-detail image and cannot retake it, upscaling can help with presentation. This list of top AI photo upscaling tools is useful for cleanup work, but it does not recover detail that was never rendered in the first place. That is the trade-off. Upscaling can make a screenshot look better at a glance. It cannot match a proper capture made at the right DPR.
Resize once, export once
Repeated resizing is where many screenshots get muddy. Resize the image for its final destination once, then export it once.
A few practical rules keep quality intact:
- Use PNG for interface screenshots: Text, icons, and lines stay sharp.
- Avoid dragging corners in slide tools: Presentation apps often resample images poorly.
- Scale proportionally: Stretching breaks UI screenshots fast.
- Check the image at 100% zoom before publishing: If text looks soft there, it will look worse after upload.
Name files so people can find the right version
Clear file names save time during updates and reduce the chance that someone publishes an outdated image. Use names tied to the workflow and screen shown, such as:
- student-checkout-step-01.png
- teacher-schedule-conflict-modal-v2.png
- parent-portal-payment-history-mobile.png
That naming pattern also makes handoffs easier across support, training, and operations teams. When screenshots are part of SOPs, help docs, or parent-facing instructions, small file management habits prevent a surprising amount of confusion later.
FAQ
What is a high-resolution screenshot
A high-resolution screenshot keeps text, icons, and UI details sharp at the size you plan to publish. For product guides, SOPs, and help docs, image quality usually depends more on rendering density than on the capture shortcut itself.
What is Device Pixel Ratio in screenshots
Device Pixel Ratio, or DPR, is the number of physical pixels used to draw one CSS pixel. Higher DPR gives the browser more pixel data to render text, borders, and icons cleanly, which is why a developer-tools capture can look far better than a standard desktop screenshot.
Is PNG better than JPEG for screenshots
Yes, for software screens and web interfaces. PNG keeps edges and text crisp. JPEG introduces compression artifacts that show up fast around menus, labels, and fine lines.
Can I take a high-resolution website screenshot without a 4K monitor
Yes. Set a larger viewport and a higher DPR in browser developer tools, then capture the page after the browser re-renders it. That method produces professional-looking screenshots even on ordinary office hardware.
Why does Print Screen look blurry
Print Screen records what your operating system is displaying at that moment. It is fast, but you get little control over pixel density, scaling, or browser rendering. That trade-off is usually where blur starts.
What's the best way to capture a full webpage
For browser-based pages, use developer tools or Firefox's built-in full-page capture. Those options are more reliable than scrolling screenshot extensions, which often create stitching errors, clipped sticky headers, or uneven spacing.
Can I capture tooltips and hover states clearly
Yes. Use browser developer tools to force the hover state and pause interaction if needed. That keeps menus, tooltips, and temporary UI states visible long enough to capture them cleanly.
Should I upscale a blurry screenshot
Only as a fallback. Upscaling can improve appearance, but it cannot recreate detail the browser or operating system never rendered. If the screen matters, retake it at the right DPR.
If your team is still piecing together scheduling, billing, attendance, and staff workflows across separate tools, that friction usually shows up in your training materials too. Cleaner operations make it easier to document processes, keep screenshots current, and give staff one clear source of truth. Tutorbase brings scheduling, billing, payroll, room management, lead tracking, attendance, payments, and student records into one system for tutoring centers, language schools, test prep academies, music schools, and after-school programs. See how it works at Tutorbase.


